How do you install floating racks in a living room?
In today’s interior designer routine, discover the step-by-step process of installing floating racks in a living room to elevate your decor game. Let’s dive in!
To install floating racks in a living room, follow these steps:
1. Choose the location: Decide where you want to place the floating racks in your living room, considering factors such as wall space and accessibility.
2. Mark the spots: Use a level and pencil to mark where the racks will be installed on the wall.
3. Install the brackets: Secure the brackets to the wall studs using screws, making sure they are level.
4. Attach the racks: Slide the floating racks onto the brackets and secure them in place.
5. Test the stability: Ensure the racks can support the weight of the items you plan to display.
6. Benefits of floating racks include saving floor space and adding a modern touch to your decor.
By incorporating floating racks into your living room, you can create a functional and stylish storage solution that complements your home decor interior design.
How to Install Floating Racks in a Living Room
Installing floating racks in your living room can be a great way to add storage and display space while creating a modern and sleek look. Here is a step-by-step guide on how to install floating racks:
Determine the Placement
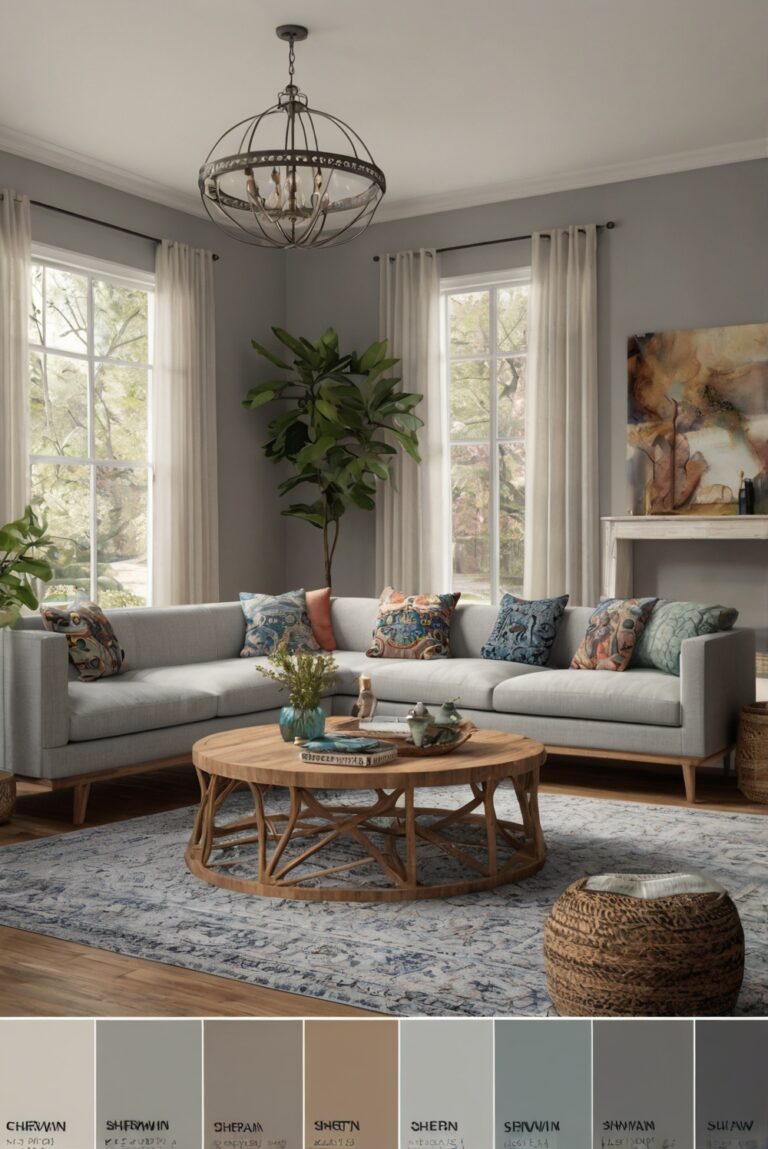
Before you start the installation process, it is important to determine the placement of the floating racks in your living room. Consider the size of the racks, the weight they will hold, and the visual balance in the room.
Gather the Necessary Tools and Materials
Make sure you have all the tools and materials needed for the installation, including a drill, screws, wall anchors, level, and measuring tape. It is important to use the correct tools to ensure a secure installation.
Locate the Studs
Locating the studs in the wall is crucial for the stability of the floating racks. Use a stud finder to locate the studs and mark their positions on the wall before proceeding with the installation.
Measure and Mark the Position
Measure and mark the position of the floating racks on the wall, ensuring they are level and evenly spaced. Use a level to ensure accurate placement of the racks.
Drill Holes and Install Wall Anchors
Once you have marked the positions of the floating racks, drill holes into the wall and insert wall anchors. Wall anchors provide additional support for the racks, especially if you are not able to secure them directly into studs.
Attach the Floating Racks
After the wall anchors are in place, attach the floating racks to the wall using screws. Make sure the racks are securely attached and level to prevent any accidents or damage to the wall.
Decorate and Organize
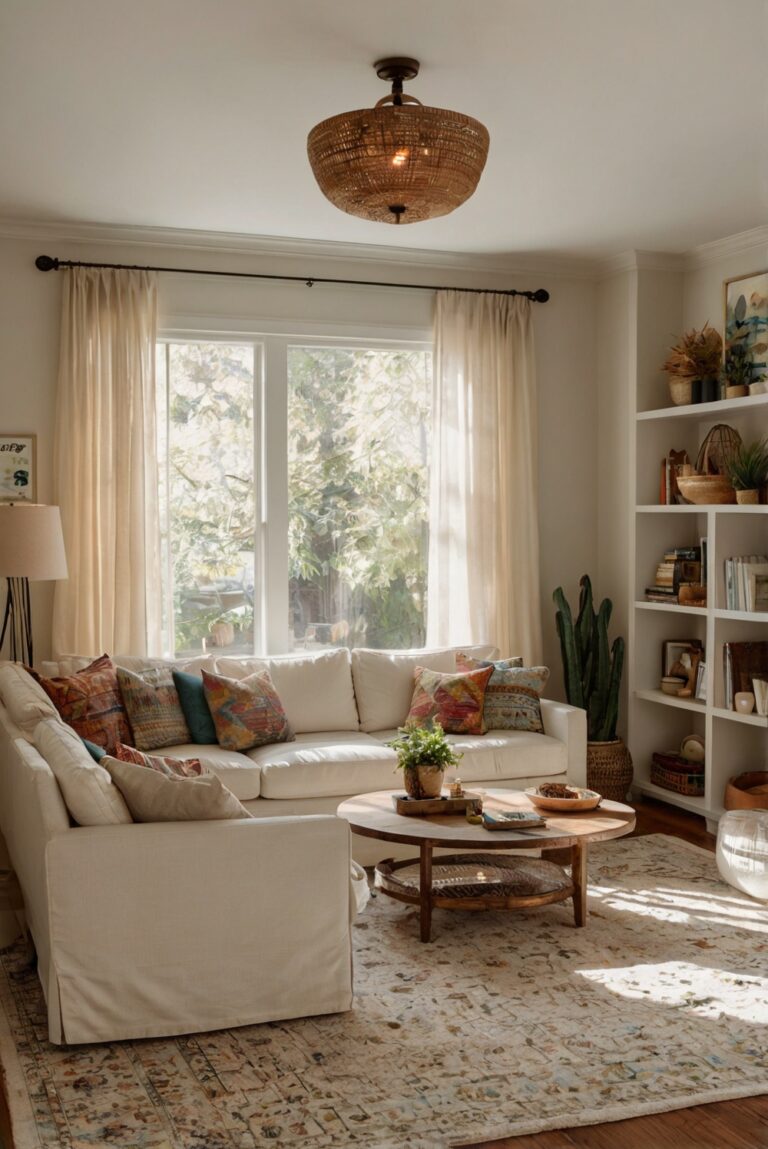
Once the floating racks are installed, you can start decorating and organizing them with your favorite items such as books, plants, or decorative pieces. Be creative and make the racks a focal point in your living room.
In conclusion, installing floating racks in your living room can enhance the aesthetics and functionality of the space. By following these steps carefully and using the right tools and materials, you can create a stylish and organized display area that adds value to your living room.
1. **What tools do I need to install floating racks in a living room?**
To install floating racks in a living room, you will need a few essential tools such as a stud finder, level, drill, screws, anchors, pencil, measuring tape, and a screwdriver. The stud finder will help locate the studs in the wall for secure mounting. A level will ensure that the racks are straight and even. The drill is necessary for creating holes for the screws, while screws and anchors will be used to secure the racks onto the wall. A measuring tape and pencil will help mark the exact placement of the racks.
2. **How do I choose the right location for floating racks in a living room?**
When choosing the location for floating racks in a living room, consider factors such as the height of the racks, the weight they will support, and the aesthetic appeal. Ensure that the racks are mounted at a height that is easily accessible and complements the overall design of the room. Additionally, make sure to install the racks on a solid wall where there are studs for secure mounting. Avoid placing the racks near heat sources or in areas with high humidity to prevent damage to the items displayed on them.
3. **What are the steps to install floating racks in a living room?**
The steps to install floating racks in a living room are as follows:
– Use a stud finder to locate the studs in the wall.
– Mark the desired location for the racks using a pencil and measuring tape.
– Drill holes into the wall at the marked locations.
– Insert anchors into the holes for added support.
– Secure the racks onto the wall using screws and a screwdriver.
– Use a level to ensure the racks are straight and even.
– Test the racks by placing lightweight items on them to ensure they are securely mounted.
4. **How much weight can floating racks in a living room support?**
The weight capacity of floating racks in a living room can vary depending on the size, material, and mounting method of the racks. On average, floating racks can typically support anywhere from 10 to 30 pounds per linear foot. However, it is essential to refer to the manufacturer’s guidelines for the specific weight capacity of the racks you are installing. Avoid overloading the racks with heavy items to prevent damage to the wall or the racks themselves.
5. **What are some design ideas for floating racks in a living room?**
Floating racks in a living room not only provide practical storage solutions but also serve as decorative elements. Some design ideas for floating racks include:
– Displaying a mix of books, plants, and decorative items for a balanced look.
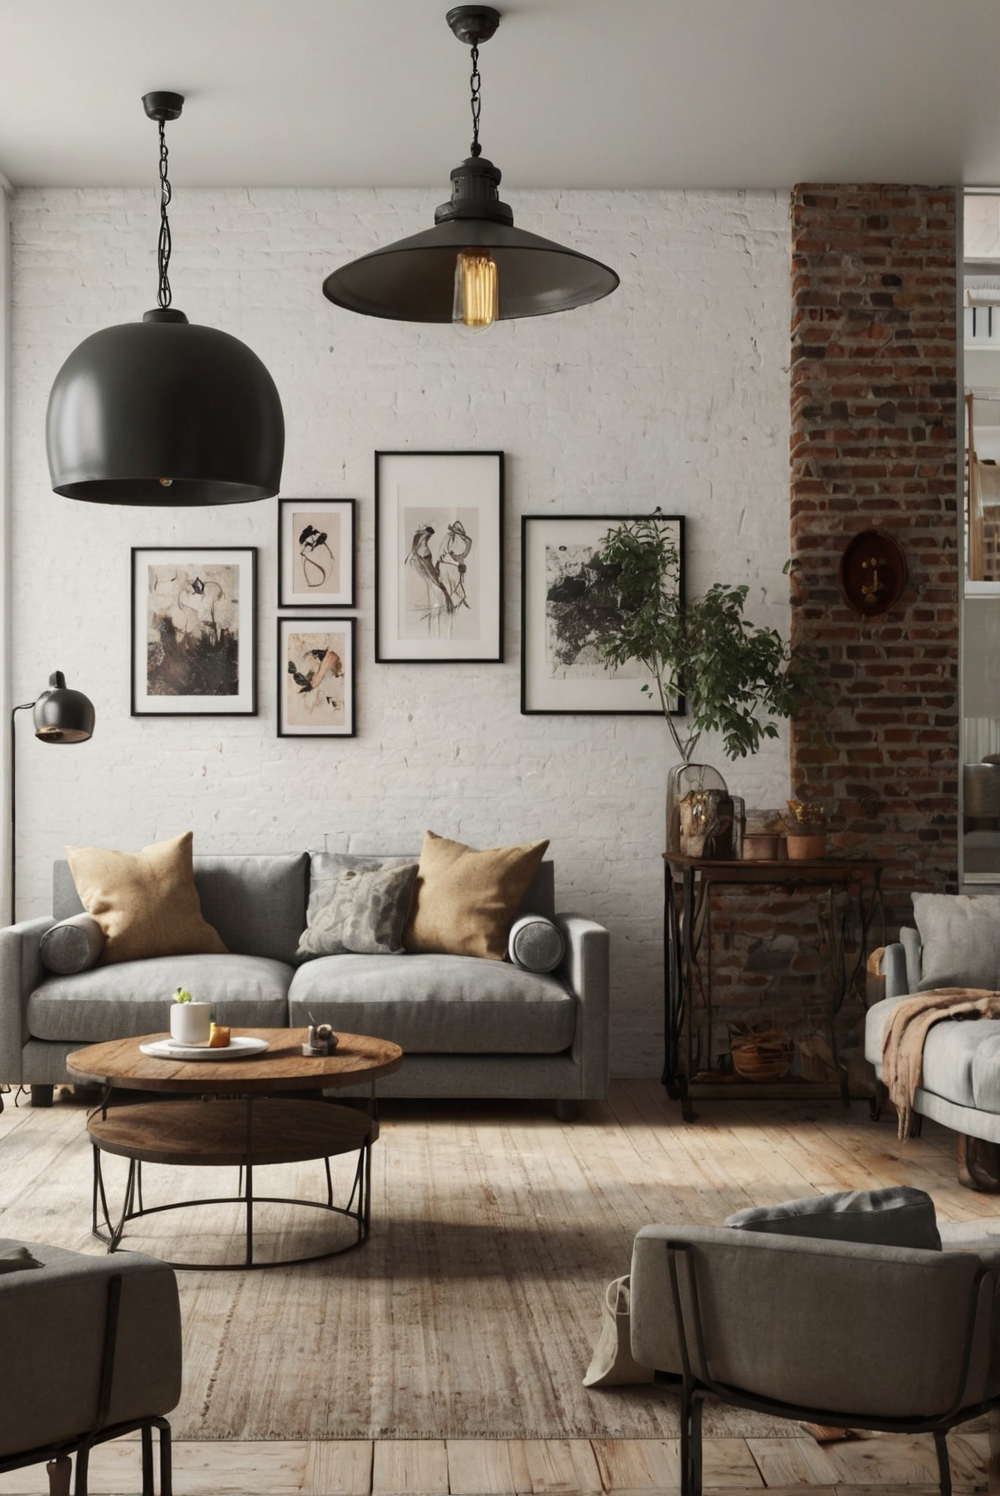
– Creating a gallery wall by arranging framed photos or artwork on the racks.
– Using floating racks as a display for collectibles or souvenirs.
– Incorporating floating racks with built-in lighting for a modern and stylish touch.
– Installing floating racks in a staggered or asymmetrical pattern for a unique and eye-catching display.